Posts

Showing posts from February, 2015

Brown Royalty

Image
Hey hey hey Polish Peeps! For my birthday a while ago, I bought myself around $75 of Butter London polish (which, since that polish is so expensive, isn't as much as you think)! I love the polish and it is always so much fun to work with. So, when I was picking out what I was going to do for my nails, I found these two lovely Butter London polishes went beautifully together and I thought that they were the browns that ruled over the other browns in my collection. I went for a basic paint job. First, I applied my Butter London Nail Foundation, which is an amazing base coat for whatever you want to do on your nails. Then with the colors, I did three fingers with the lighter brown and two fingers with the darker brown. And, of course, I used butter London Hardware P.D. Quick Topcoat (I have recently fallen in love with this top coat--it is amazing!!!). Colors; butter London = All Hail the Queen (light brown), butter London = Brown Sugar (dark brown)  What do you think? I ...
mini mani monday; Seeing Stars

Image
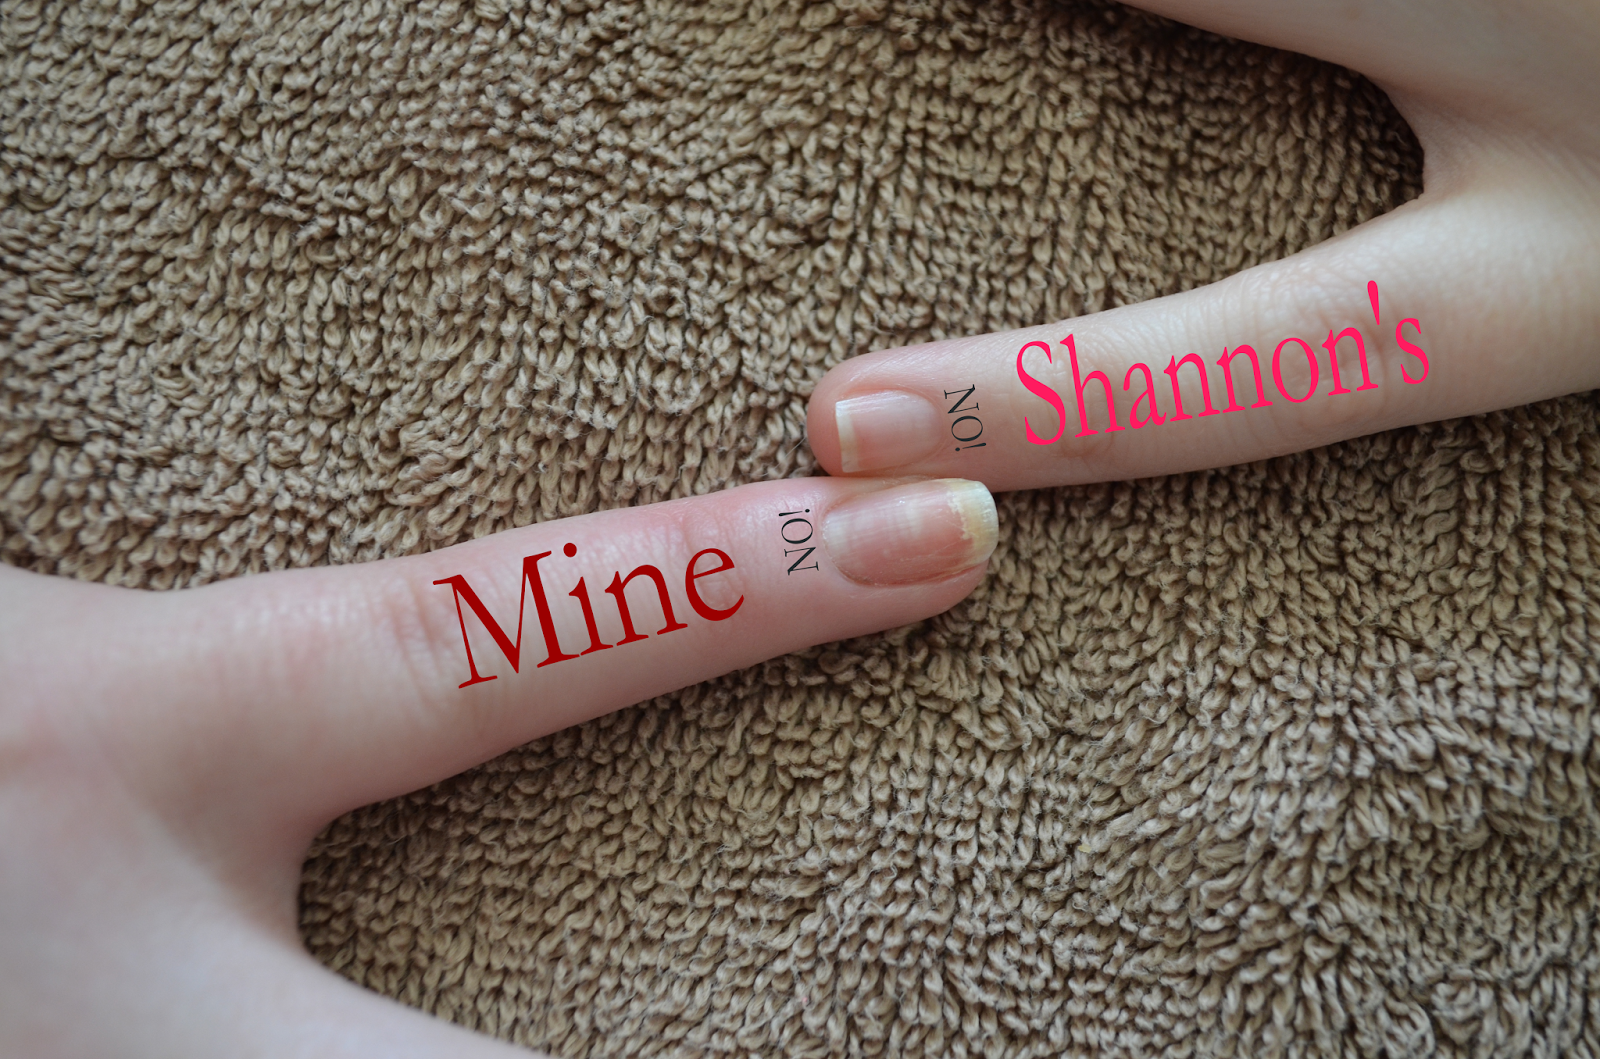
Hey Polish Peeps! On this Monday, I'm going to give you a mini mani! Once again, I like to show you peeps how to do manis on different sizes of nails! And my older sister just so happens to have nails smaller than a 3-year-old's (I know because I did my friend's 3-year-old daughter's nails (she was sooooo cute and loved the snowmen I did for her, which made me so happy)).  Now, I know it is hard to see the size difference when the nails are painted so when I was painting her nails I took a picture of our nails side-by-side with out polish and look: Now, my sister, Shannon, LOVES space so much!! The second she saw this nail polish, she basically died! I bought it and now she loves me twice as much. ;) So she said she wanted the polish on the tips like the starts are flying past the tips of the nails. I picked out a dark gray and did two coats on her nails. Shannon, being Shannon, said she felt like a brooding teenager because of the dark color polish I used. When t...

Baymax Toes!!

Image
Hallo Polish Peeps! I have my February Piggies for you on this lovely day! The movie Big Hero 6 is coming out this month to DVD and Blu-Ray. And if you are anything like me, you have seen the movie two to three times in theaters and have at least all of the action figures of all the characters, a pose-able action figure of Fred, a poster, 2015 calendar, one giant Baymax plushie, 10 other Baymaxes in different forms, a mini Fred plushie, and one giant Fred plushie (is my geek showing yet?). My sister and I just love Big Hero 6 and can't wait for the Blu-Ray/DVD to come out! So, to get ready for the release I did some Baymax-themed toes! I first started off with two coats of white nail polish on all the piggies. When that dried, I went to work on the big toe; the other toes are just a little to small for the nail art but could be do-able. I stated by putting two dots of equal size on the big two with space in-between them in black nail polish. The very carefully I added a thin l...

Valentine's Day x2!

Image
Hey hey hey Polish Peeps! Happy Valentine's Day! I hope you guys are spending time with the ones you love. I will be with my mom, dad, and sister all day. To finish the day, I'm gonna have a relaxing foot bath. For today, I am going to give you both my French Heart nails and a Mini Mani. For the mini mani, I painted my sister's nails a light pink. When that was dry I taped a straight line off the top of the nail and painted it white. Now to accessorize. My sister, being who she is, has a ring that has hearts all around it, making it the perfect accessory to go with her first ever French tips!   Colors for mini mani: Essie = Ballet Slippers (light pink), OPI  = Alpine Snow For my nails, I wanted to do a little twist on the French tips. I tilted the line of the white instead of having it be perfectly straight. When it is straight, my nails don't look right. But the way the line looks depends on the shape of your nails. And, thanks to my lovely aunt and uncl...

mIx & MatCHeD LovE

Image
Hello Polish Peeps! For today's nails, I wanted something that showed how love comes in every form (including, not at all/unwanted). So to start off, on my thumb I did a twist on the classic french tip and did it slanted with a hot pink on the tip. For my pointer, I went for a more unwanted love or a strong single in no need of love, so I started off with a white nail and added light pink dots in different sizes. When that was all dry, I painted an X on top of it to cross it out. On my middle and ring finger, I painted one hot pink and the other white. Then I added a glitter top coat to both. On my pinky finger, I wanted to show how love grows. So, on a white nail, I started to add dots. Small at the tip of the nail and slowly make the dots bigger, leaving the biggest dot near the cuticle. Colors: OPI = Hey Baby (hot pink), Essie = Blanc (white), Essie = ballet slippers (french light pink (on the thumb)), China Glaze = Fairy Dust (glitter), Essie = eternal optimist  ...

Heart Flutters

Image
Hey hey hey Polish Peeps! For today's Valentine's Day nails, I wanted to do something with very few polishes. I found this polish that already has hearts and glitter about a week ago when I was shopping at Ulta (amazing store for any thing beauty).  This polish is so perfect for Valentine's it will make your heart flutter! The polish is pretty thin and requires a few coats to be visible. So, before I applied  the heart polish, I did two quick coats of white polish so the hearts really pop! Colors: OPI = Alpine Snow (White) , Nails Inc. = London Street (Heart glitter)  The next set of Valtine's Day nails will be up on the 12th. See you then! Peace out!

Heart Breaker

Image
Hallo Polish Peeps! A week from today is Valentine's Day so I thought we should start with some nails to go along with the season. Now, you are not always going to be in love on Valentine's Day and you don't always need to have a Valentine. You might be heartbroken or you might be the heart breaker (or just yourself :p); either way you are going to need these nails! For today, I have nails with just the right amount of heart break. I started off with painting my nails a light pink. Once that was dry, I added two big dots next to each other and then added a V to the bottom to form a heart, I did this on all my fingers expect my ring finger. On my ring finger, I put a piece of cut up tape on it and then painted the dots a V a little bit apart. I then finished with top coat. Colors: OPI = Bubble Bath, OPI = Big Apple Red What do you peeps think? That's all for today! See you the 10th for the next set of Valentine's Day nails! Peace out!